Things are going really well with the No- Off-The-Shelf-New Clothes thing. I'm really starting to love the hunt for something that was once loved by someone else and turning it into something updated and wearable or usable again!
My amazingly strong and wise grandmother is almost 94. She has given me so many wonderful pieces of advice and interesting vintage jewelry, buttons and treasures, that she once loved, and now she passes those treasures onto me so I can make new memories. I hope I can turn her cool stuff into more cool stuff, and pass it onto my daughter, so she can have that cool stuff. I'm sure you will see parts and findings in this blog from Grams. Thanks Grams, love you!
Today is about this dress: It was about $5.00. It's more than I wanted to spend, but I loved the print.
 Too big. Too long. Does nothing for me.


My amazingly strong and wise grandmother is almost 94. She has given me so many wonderful pieces of advice and interesting vintage jewelry, buttons and treasures, that she once loved, and now she passes those treasures onto me so I can make new memories. I hope I can turn her cool stuff into more cool stuff, and pass it onto my daughter, so she can have that cool stuff. I'm sure you will see parts and findings in this blog from Grams. Thanks Grams, love you!
Today is about this dress: It was about $5.00. It's more than I wanted to spend, but I loved the print.
Too big. Too long. Does nothing for me.
I needed to do something about how big the top was. You can't tell from the photo, but the top of the dress came almost to my chin.
So I folded down a bit, pinned and sewed a new top hem.
The sides were gaping, and the back was ruched, so I took each side in about 1.5 inches using a zig zag seam.
I made a tiny chop to the bottom, and sewed a new hem.
I used the bottom hem to make some new straps to hold up the dress. I'm not a huge fan of strapless, unless its fits me perfectly. I just feel a bit bit more secure with some straps.
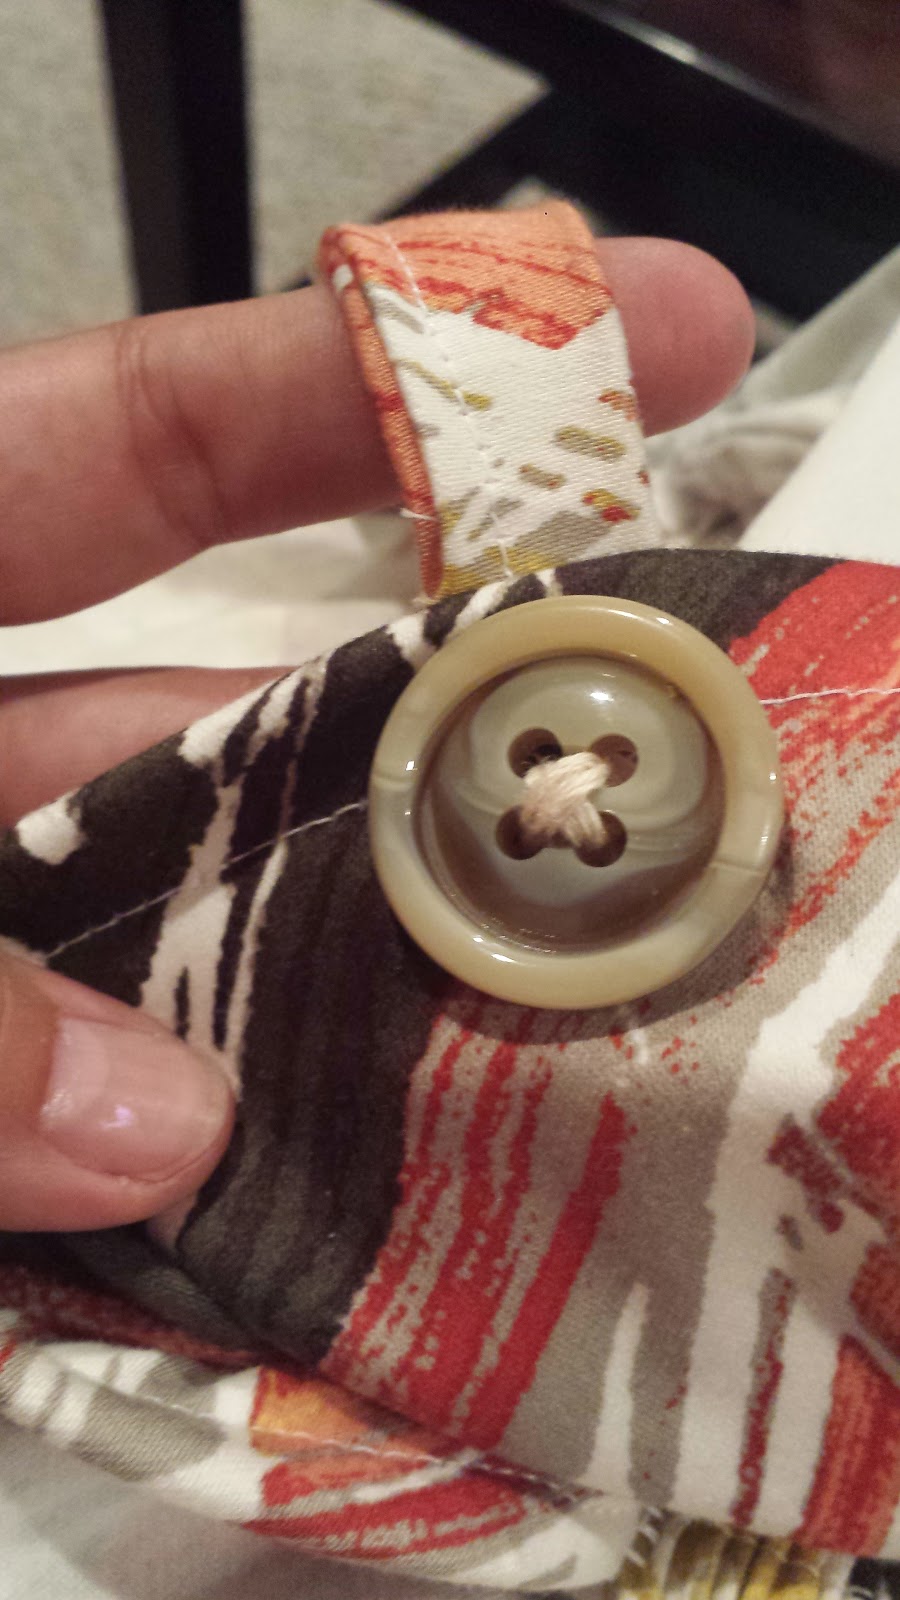
I sewed the straps using a tight zig zag stitch in two places. This left not so great looking stitches on the front.
So, I decided to hide them with some cool vintage buttons.
Boom! Buttons!
I sewed them on securely with embroidery thread.
Bam!
It ended up looking like this! I like it!
I think it turned out great! My daughter wanted to get in on this picture too!
I might take up the bottom hem another inch or so. I still think it might be a bit too long.
Definitely an improvement!
Comments
Post a Comment