
Vacay T-shirt and Shirt Dress Refash

Got a plain black T? Make it fancy by embroidering some letters or pictures on it!


I picked my word: RESFEBER
Definition: The restless race of the traveler's heart before the journey begins.
We are planning a summer trip, and I'm gearing up for just a carry on for the plane! 
No time for baggage claim! 
But I gotta be stylish ya know?

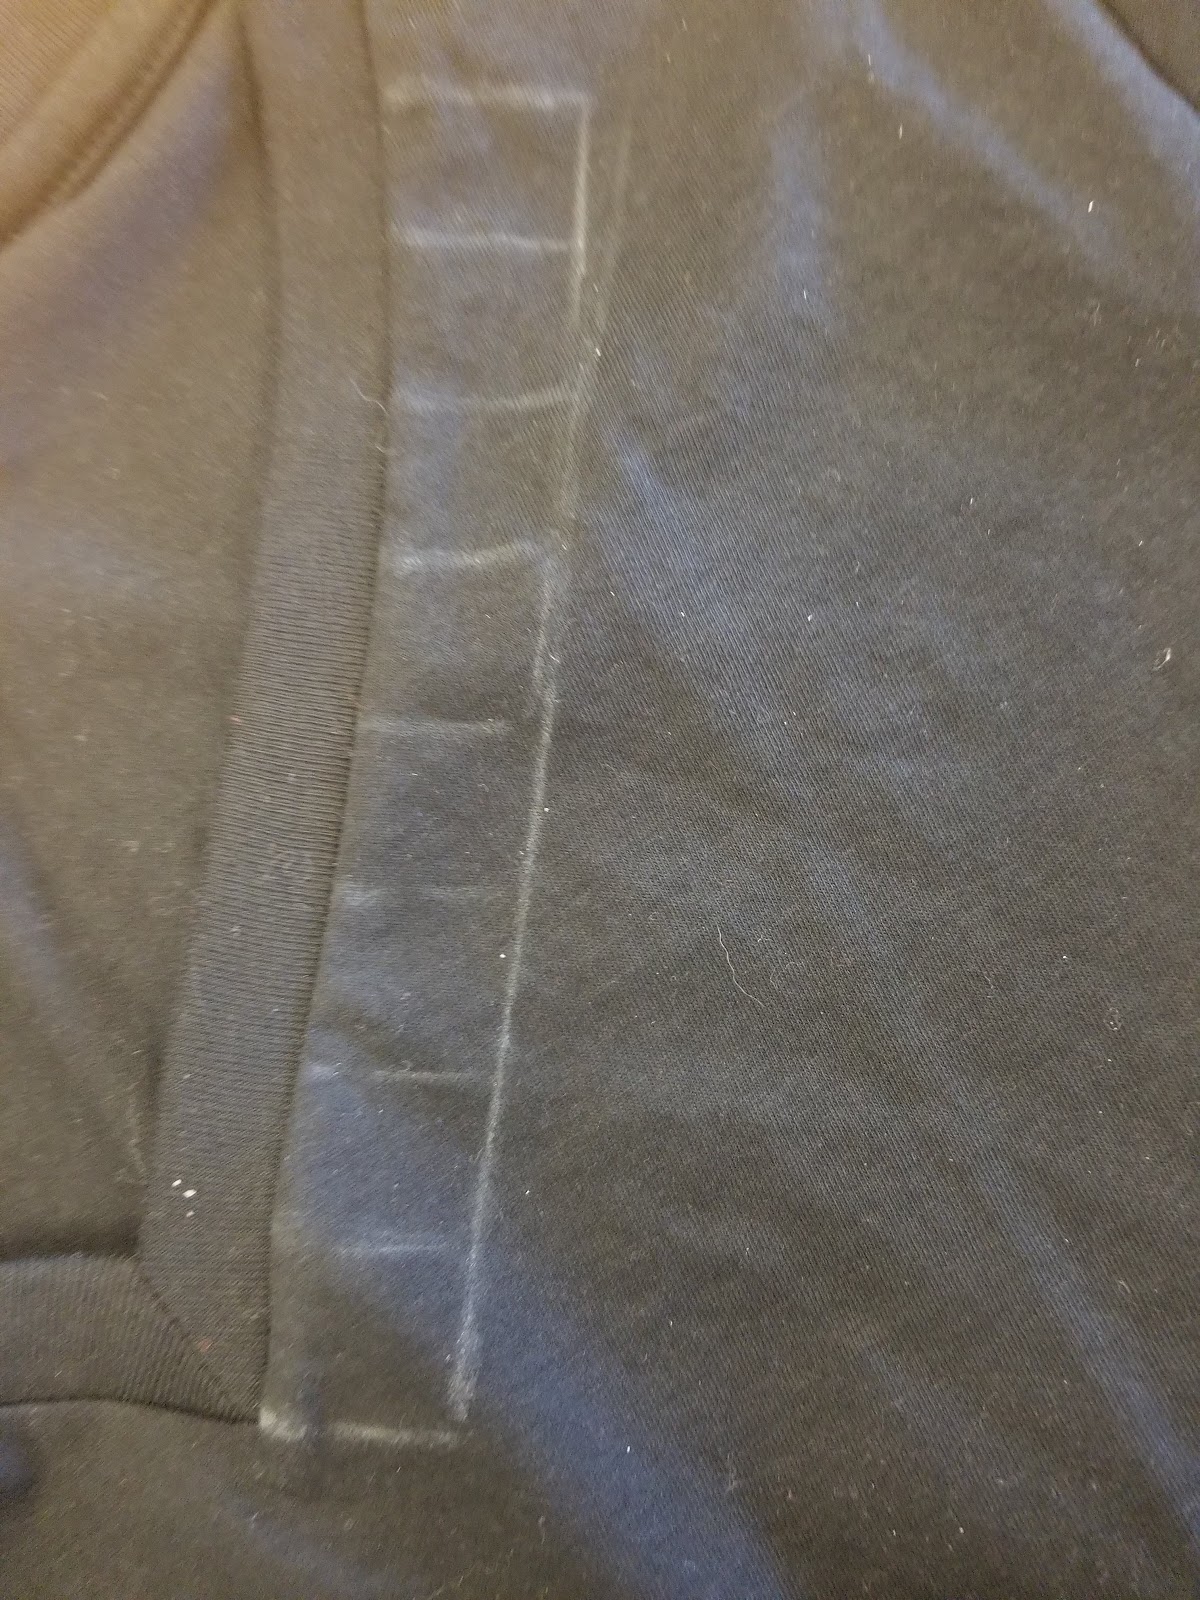
I measured out how big I wanted the letters to be and 
sectioned them off in equal parts with some chalk.


Let the stitching begin!

I did a basic chain stitch for all the letters. 
This is when the thread is doubled and you stitch up through the middle 
of the previous stitch creating a "chain" look.


I'm ready to go! I really like the way the v-neck highlights the placement of the word.
The white embroidery thread adds a nice contrast, but you could do all the colors!


 Next up: Craft Party
I try to get my friends to craft with me a couple times a year. I don't even have to bribe them with food or drinks!
We are making lavender filled sleep masks this time!
This year I won a margarita party from a local amazing Mexican restaurant! You should go! www.taxcorestaurant.com This is not a paid advertisement. I just really like this place!!!!
My marg party came complete with some snacks to share! It was simply amazing and just so wonderful that I could share all the deliciousness with friends!


I needed an outfit to wear to said craft party, and I had an idea for a shirt dress. 
I found these two beauties below in the men's section of the thrift sore and brought them home, washed 'em and started cutting 'em up!


Chopped in half.
Picked off the pocket of one, and placed it on the other.
Rolled up the sleeved and hemmed.
Sewed them both together.
Made a sash.
DONE!


Denim and leather twinning!


Super cute and comfy!

See you next time!


Comments

Popular posts from this blog

Graduation Gown not just for Graduates Anymore

This discarded, and loved-no-more graduation gown was calling to me from the thrift store rack. It was perfect for this time of year when teachers say goodbye tearfully to some, and not-so-tearfully to others.  But we love them all anyway.  Heeeeey!  Over here!  Buy me and give me a new life!! So I did. Sally liked the dress much better once I picked off those sleeves! She thought it was a perfect resting spot. I chopped the bottom a bit, folded it twice because it was fray-fray-central, and I hemmed it all up.  I could use the chopped off bottom piece as a belt  or use an existing one.  Choices.... The dress is all white so this time, I decided to go with a darker brown belt,  and some metallic sandals. Congrats and good luck  to all the 2015 graduates!  I'm ready for the ceremony! See you next time!

Lisa's Sew Along with Cassie! Part ONE

  My awesome teacher friend Cassie Stephens, has a great Art Teacher blog. She is an amazing artist, teacher, and she sews too! Cassie had this great idea to start a sew-along. Check out her amazingness at www.cassiestephens.blogspot.com I will be sewing an art apron with her tutorials right along side her. This is my progress so far:   Cassie is all professional and stuff making a pattern for her apron, but I just went ahead and traced an existing one.   Trace and snip! This Apron will end up being reversable! My Grams gave me some amazing fabric, so I am putting it to use for this reversable apron. Thanks Grams! I love you bunches! Very patriotic. Both sides cut. My Grams gave me that electric blue fur fabric, and I thought it would be  super awesome for a pocket. Who doesnt like furry pockets?   I had some of that cute kitty fabric left over from my teacher dress. Check out my Art Teacher Dress H...

Lisa's sew along with Cassie Part II

I continued to sew the pockets for each side, and I had a beautiful red and white scarf from Grams that I thought would be perfect for the neck.  One side. And, the other. I put the scarf in the middle of the two sides. (RSF)       Hi Scarf! Then I pinned it down, so just the bottom of the scarf was sticking out the top. The scarf was safely tucked inside. I did the same thing to add the grossgrain ribbon for the ties on the side. I flipped it right side out, and sewed the bottom together. One side.   And, The other!   Detail of the ribbon. Mixing those patterns! Hanging on my office door, ready to go!